
Preparing Wall Art for Poster Printing in GIMP at the Right Size
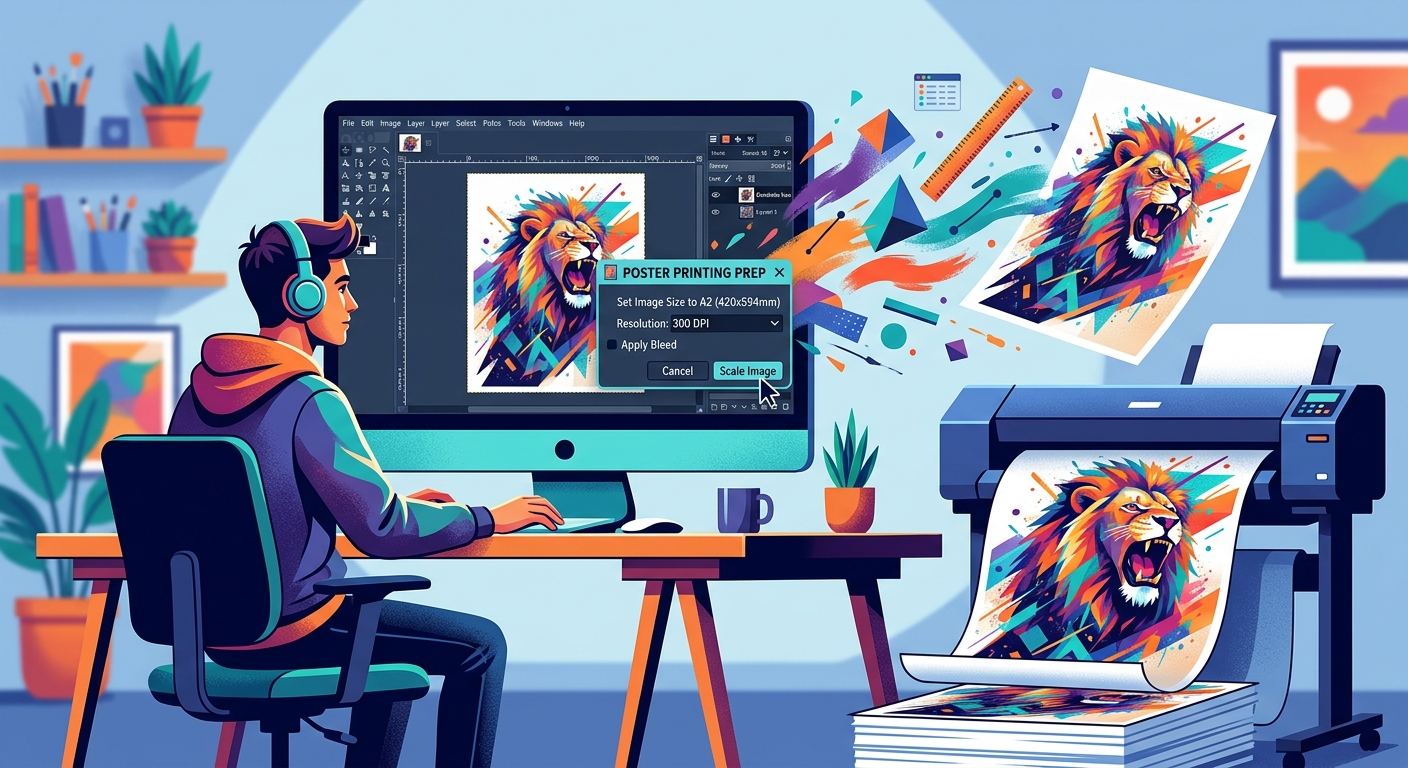
A poster can look sharp on your laptop and still arrive with blurry details, missing edges, or a border you never planned. The trouble often starts before export. Your image might have too few pixels for the paper size, or its proportions might clash with the frame. GIMP gives you the controls to sort out those problems before you order a print.
This workflow takes you from an existing image to a file your printer can use. You will choose the finished dimensions, check the available detail, adjust the composition, and export with the settings your print service requests.
Three Checks Before Printing
- Choose the finished poster size before cropping your artwork.
- Check whether your pixel dimensions support the required print resolution.
- Export with your printer’s requested format, color profile, and bleed settings.
Start With the Finished Poster and the Printer’s Specifications
Decide how large the finished poster should be. Use the dimensions of the print that will fit your frame, rather than the frame’s outside measurements. If you plan to use a mat, check the print size it accepts and the opening that will remain visible. A mat can cover part of the artwork around its edges.
Keep width and height in the correct order. A portrait poster measuring 18 by 24 inches has an 18-inch width and a 24-inch height. A landscape version reverses those numbers. Writing this down prevents an easy mistake later.
Read your printer’s file requirements before making changes in GIMP. Find the accepted file formats, requested resolution, color profile, maximum upload size, and instructions for borders or bleed. Check whether the upload system adds borders or crops images automatically.
Bleed is artwork that extends beyond the finished cutting line. It helps prevent white edges when a printed sheet is trimmed. Some services require it. Others handle it themselves. Use the printer’s exact measurements and template when available, since a guessed bleed can produce the wrong file size.
Check the Pixels You Already Have
Open your artwork with File > Open. Save a working copy as an XCF file through File > Save As. This keeps your layers and other editable work available while you prepare a separate delivery file.
Open Image > Scale Image and read the width and height in pixels. You can cancel the dialog after checking. Those numbers tell you how much image information you have.
Print resolution is usually described in pixels per inch, or PPI. Printers may call their upload requirement “DPI,” although dots per inch technically describes the printing device’s output. For preparing your artwork, the useful question is how many image pixels will occupy each inch of paper.
The calculation is straightforward: print width in inches × requested PPI = required pixel width. Apply the same calculation to the height. An 18 by 24-inch poster at 300 PPI requires 5,400 by 7,200 pixels.
Changing a resolution label does not create missing detail. A 1,800 by 2,400-pixel image remains that size when you change its resolution metadata. At 18 by 24 inches, it supplies 100 PPI. Enlarging it can create additional pixels, but those pixels are calculated from the existing image.
Pixel Requirements for Common Poster Sizes
| Finished Poster Size | Pixels at 300 PPI | Pixels at 150 PPI |
|---|---|---|
| 12 × 18 inches | 3,600 × 5,400 | 1,800 × 2,700 |
| 18 × 24 inches | 5,400 × 7,200 | 2,700 × 3,600 |
| 24 × 36 inches | 7,200 × 10,800 | 3,600 × 5,400 |
These figures describe pixel requirements, not guaranteed quality. A blurry photograph can have plenty of pixels and still print poorly. A lower resolution may be acceptable for a large poster viewed from across a room, but confirm that with your printer. Fine lettering and close viewing usually make defects easier to see.
Match the Artwork’s Shape to the Poster
Aspect ratio describes the relationship between width and height. A 12 by 18-inch poster has a 2:3 ratio. An 18 by 24-inch poster has a 3:4 ratio. Both are portrait formats, but they have different proportions.
If the image and paper have different ratios, choose how to handle the mismatch. Cropping fills the poster while removing part of the image. Adding a border preserves the full composition. Extending the background may work for artwork with simple surrounding space. Stretching the image changes the shapes inside it and is usually a poor choice.
Select the Crop Tool. In Tool Options, enable Fixed, choose Aspect ratio, and enter the desired ratio. For an 18 by 24-inch portrait poster, use 3:4. Drag a crop rectangle over your artwork, then adjust its position before applying it.
For wall-art inspiration, browsing print poster ideas can help you notice which compositions suit tall, wide, or square formats. Pay attention to where the main subject sits and how much breathing room surrounds it. A wide landscape may lose its strongest feature in a narrow portrait crop. A centered illustration may adapt more comfortably.
Judge the crop at the size it will occupy on the wall. Keep faces, lettering, signatures, and other meaningful details away from the edges that trimming or a frame may cover. If the crop feels cramped, choosing another poster size can be more effective than forcing the image into the original frame.
Check the pixel dimensions again after cropping. Removing part of the image also removes pixels. Your original resolution calculation may no longer apply.
Set the Print Dimensions Without Accidental Resizing
Once the composition has the correct proportions, open Image > Print Size. Choose inches or millimeters as appropriate. Keep the X and Y resolution values linked so pixels retain their normal proportions.
Enter the intended print width and check the resulting height. With the aspect ratio already matched, both dimensions should agree with your target size. Read the resulting resolution to see how many pixels per inch the existing image provides.
The official guidance on print dimensions explains that this command changes the physical print size and resolution without resampling the image. That makes it useful for testing how large your current artwork can print before altering its pixels.
If you are creating a poster from scratch, use File > New. Set the width and height units to inches, enter the document dimensions, and open Advanced Options to set the X and Y resolution. Check the resulting pixel dimensions before starting your design. Include bleed in the document size only when your printer requires it.
Resize Only When the Delivery File Needs It
Use Image > Scale Image when you need to change the pixel count. Keep width and height linked, enter the required dimensions in pixels, and check the interpolation setting before applying the change.
For photographs, NoHalo or LoHalo are options worth testing when available in your GIMP version. Compare the result around fine textures, strong edges, and lettering. No interpolation method can recover detail that was absent from the source.
If your file falls far below the printer’s requirement, try to obtain the original photograph or a larger artwork export. A smaller poster may also give a better result. Repeated enlargement adds processing without solving the underlying shortage of detail.
Make your final size adjustment once the crop is settled. Inspect the result at 100% zoom, where individual image pixels can be assessed clearly. Look for jagged lines, compression blocks, halos, and soft text. Fit-to-window view is useful for composition, but it can hide these flaws.
Prepare Bleed, Borders, and Color for the Print Service
Bleed changes the file’s outer dimensions. If a printer requests 0.125 inch on every side of an 18 by 24-inch poster, the artwork area becomes 18.25 by 24.25 inches. Follow the template for the corresponding pixel dimensions and trim position.
Use Image > Canvas Size to add surrounding space when appropriate. Enlarging the canvas does not automatically extend your artwork. Continue the background into that space, and check that the exported image has no transparent strips where printed color is expected.
A white border serves a different purpose. It remains visible in the finished poster. Decide whether you will include it in the file or ask the print service to add it. Doing both can create a larger border than intended.
Follow the printer’s color instructions. If it requests sRGB, use Image > Color Management > Convert to Color Profile and choose the appropriate sRGB profile. Assigning a profile and converting to one are different operations. Conversion translates colors from the current profile into the destination profile.
If the printer requires CMYK, a supplied ICC profile, or a particular PDF standard, check its recommended workflow before exporting. GIMP’s usual RGB image workflow may need an additional conversion tool to meet those requirements. Changing a filename extension does not perform a color conversion.
Export a File That Meets the Upload Requirements
Save your XCF working file, then use File > Export As to create the delivery copy. Choose the format requested by your printer. XCF is useful for editing, but most print services expect a flattened image or a suitable PDF.
For JPEG delivery, start with a high quality setting, around 95, and inspect the exported result. JPEG compression can leave marks around text and sharp boundaries. Avoid repeatedly opening and saving the delivery JPEG, since additional lossy compression can reduce quality.
PNG preserves image detail without lossy compression and can suit illustrations or text-heavy artwork when accepted. TIFF may be another option. Check the printer’s limits before choosing, since large files can exceed upload restrictions.
Embed the requested color profile when the export dialog offers that option. If the poster needs an opaque background, verify that one exists beneath the artwork. Transparency can be handled differently by different services.
A PDF export does not automatically provide every feature a print shop expects. If the service asks for PDF/X, trim information, or specific color handling, verify that your delivery workflow can supply it.
Give the Exported Poster One Final Inspection
Open the exported file in GIMP and confirm its pixel dimensions. Check its print size metadata if the service uses that information. Inspect the edges, background, lettering, and crop for anything that changed during export.
Review the upload preview carefully. Confirm the selected paper size, orientation, borders, and crop behavior. A service may fit the file to its chosen product regardless of the dimensions stored in the image.
For artwork with subtle colors or fine detail, order a proof when available. You can also print a small section at its intended physical size to assess local sharpness. A reduced copy of the entire poster will not show how its details look at full size.
Send Artwork That Fits the Frame
Your poster is ready when the composition fits the intended proportions, the pixels support the agreed resolution, and the export meets the printer’s specifications. Keep the XCF file for future changes and label the delivery copy with its finished size.
Those checks give you control over the result. You can send the file knowing where the edges will fall, how much detail it contains, and how the artwork should sit inside its frame.
Explore on GIMP.cc
Step-by-step GIMP guides for every skill level.
Resize, compress, convert, and check images online.
Answers to the most common GIMP questions.
Share this article: