
How to Replicate Photoshop Photo Effects in GIMP Step by Step
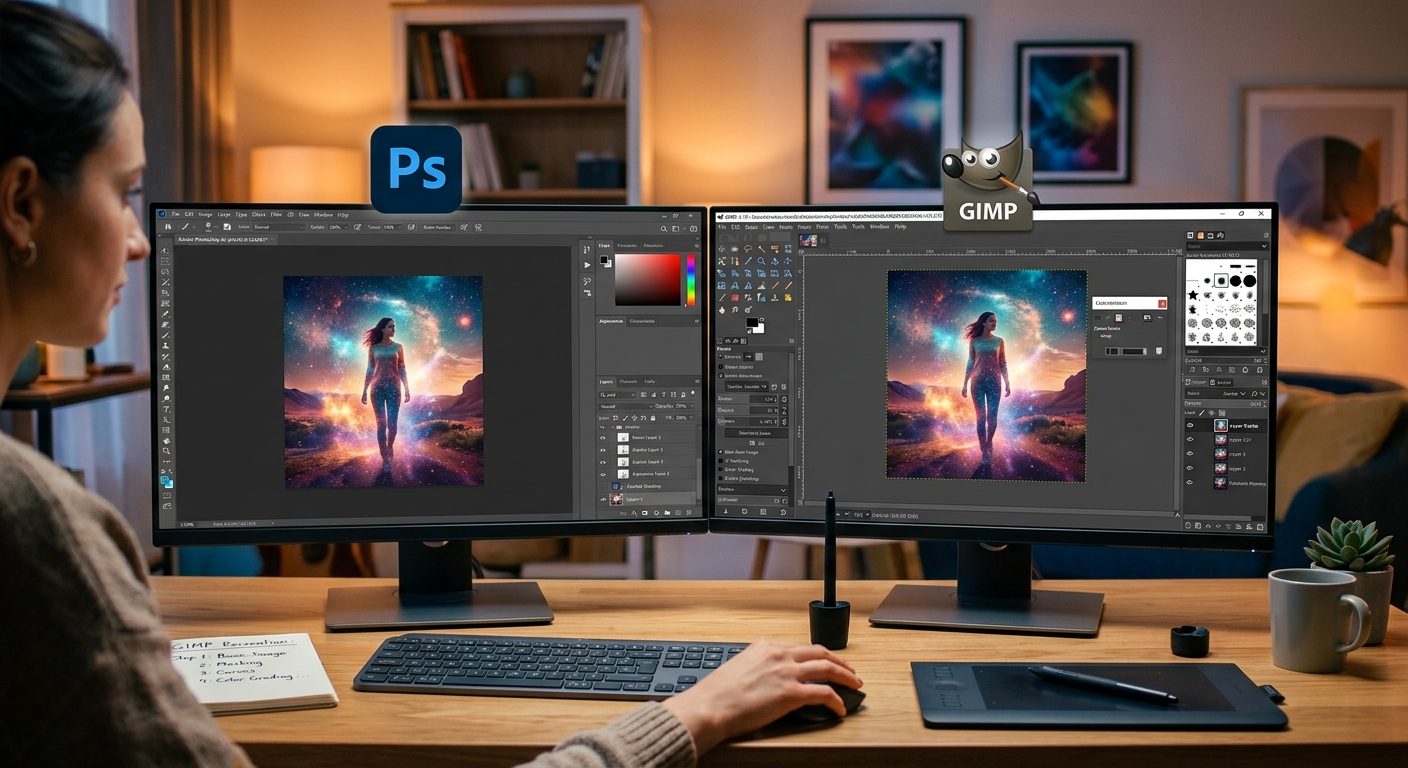
The gap between Photoshop and GIMP is mostly about habit, not capability. Both tools use layers, masks, and blend modes. Both support curves, color grading, and a range of destructive and non-destructive workflows. If you know how to think about photo editing, GIMP will follow along. The terminology shifts in a few places, and the menu layout takes some getting used to, but the effects you built in Photoshop are absolutely reproducible here, often with fewer steps than you expect.
If you want to preview what a finished effect might look like before building it inside GIMP, a fast way to get a feel for the direction is to apply photo effects through a browser-based tool first. It is a practical checkpoint before committing to a full layered workflow. That said, GIMP gives you control no browser tool can match. The walkthroughs below cover the three effects designers ask about most: vignettes, color grading, and soft-focus blur.
The GIMP Playbook: GIMP can reproduce virtually every common Photoshop photo effect using native tools you already have installed.
- Vignettes, color grades, and soft-focus blur are all achievable through GIMP's built-in filters and layer blend modes, no plugins needed.
- Script-Fu lets you record and replay multi-step effects, working like Photoshop Actions but through a scripting interface.
- Understanding where GIMP's tools map to Photoshop equivalents removes most of the learning curve.
Why GIMP Handles These Effects Better Than Most People Expect
GIMP has been refined for three decades by a large community of developers and contributors. GIMP's official documentation describes a full suite of painting, selection, transform, and color tools, along with robust support for custom scripts and plug-ins. That is a serious technical foundation. Most newcomers underestimate it because the default interface looks dated compared to Photoshop's polished panels.
The important thing to understand is that GIMP's filters, color tools, and blend modes are functionally equivalent to Photoshop's for most photo editing work. The differences show up at the high-end production level, things like 32-bit color depth workflows or CMYK output prep. For the effects covered here, vignettes, color grading, and blur, GIMP matches Photoshop step for step.
Building a Vignette Effect in GIMP
A vignette darkens the edges of a photo to pull the eye toward the center. In Photoshop, you might reach for the Lens Correction filter or a manual layer approach. In GIMP, the manual method gives you the most control and becomes second nature after you have done it once.
Using the Ellipse Select and Feather Tools
Open your photo. Create a new transparent layer above it and name it "Vignette." Select the Ellipse Select tool from the toolbox. In the Tool Options panel, check the Feather Edges box and set the feather radius between 80 and 150 pixels depending on your image size. Draw an oval selection covering most of the photo, leaving the outer edges excluded.
Invert the selection by going to Select, then Invert. Now the edges are selected instead of the center. Fill the selection with black using Edit, Fill with Foreground Color. Deselect with Select, None. In the Layers panel, drop the vignette layer's opacity to somewhere between 40 and 70 percent and adjust until it reads naturally. Set the layer blend mode to Multiply for a richer, deeper edge. That is your vignette, done in about two minutes.
Color Grading Your Photos with Curves and Color Balance
Color grading is where GIMP really shows its strength. The Curves tool under Colors, Curves is nearly identical to Photoshop's version. You get separate RGB channels plus a master curve. Dragging the shadows down while lifting the midtones creates the lifted-blacks look common in cinematic images. Pulling highlights slightly warm adds golden tones to skin and outdoor shots without affecting the shadows.
Getting That Cinematic Film Look
For a proper cinematic grade, use three tools in sequence. Go to Colors, Curves and pull the bottom-left anchor point of the master curve upward slightly. This lifts the blacks and kills the deepest shadows, a signature move in film-style grading. Then open Colors, Hue-Saturation and reduce overall saturation by around 10 to 15 points. Finish with Colors, Color Balance. Push the shadows toward cyan and blue, the midtones slightly warm, and the highlights toward a faint teal. That three-step sequence produces a clean, filmic color grade entirely inside GIMP without a single plugin.
You can save each of these adjustments as a Script-Fu script to replay on other photos from the same shoot. That single step cuts processing time significantly when you are working through a batch.
Simulating Soft-Focus Blur and Depth of Field
Soft-focus blur keeps a subject sharp while the surrounding area falls off into a pleasing haze. Photoshop handles this with Smart Filters and layer masks. GIMP uses a very similar approach with regular layers and a Gaussian blur, and the logic is almost line for line the same.
Combining Gaussian Blur with Layer Masks
Duplicate your base layer by right-clicking it in the Layers panel and selecting Duplicate Layer. With the duplicate selected, go to Filters, Blur, Gaussian Blur. Set both the width and height to between 15 and 25 pixels. This blurs the entire duplicate layer. Now add a layer mask by clicking the Add Mask button at the bottom of the Layers panel. Choose Initialize Mask to Black. A black mask hides the layer entirely, which means the blur is now invisible.
Pick a soft white brush and paint over the areas you want blurred, such as a background behind a portrait. Where you paint white, the blurred layer shows through. Where you leave black, the sharp original shows. If you overdo an area, paint black back over it to restore the original. This is the same logic as Photoshop's Smart Filter mask approach. Layer masks are fully reversible, so there is no pressure to get it perfect on the first pass.
Layer Blend Modes That Transform Your Photos
Photoshop designers who rely on blend modes will find GIMP's list immediately recognizable. Every mode you use regularly in Photoshop has a counterpart in GIMP, and they behave the same way. These are the modes worth knowing by name for creative photo work:
- Multiply: Darkens the image. Ideal for vignettes, shadow depth, and darkroom-style burning effects.
- Screen: Lightens the image. Useful for simulating a light leak or brightening blown-out highlights artificially.
- Overlay: Increases contrast and saturation simultaneously. A reliable choice for dramatic landscape edits.
- Soft Light: A gentler version of Overlay. Works well for subtle skin retouching without washing out detail.
- Luminosity: Applies the luminance structure of one layer without transferring its color. Useful for texture blending that avoids color contamination.
These modes work exactly as they do in Photoshop. If you have a Photoshop technique that calls for a Screen layer at 60 percent opacity, you can replicate it in GIMP using the same mode and the same opacity value. The output will match closely enough that most viewers could not tell the difference.
Automating Repetitive Effects with Script-Fu
Photoshop Actions let you record a sequence of steps and replay them with one click. GIMP's equivalent is Script-Fu. It uses a Scheme-based scripting language, which means the syntax looks a little unfamiliar at first. The Script-Fu console, found under Filters, Script-Fu, Console, lets you run and test individual commands interactively before assembling them into a full script. That console is a good place to start because you get immediate feedback on every line you write.
Here are some of the tasks Script-Fu handles particularly well for photo effect automation:
- Flattening layers and exporting a resized web-ready copy in a single command
- Applying a Gaussian blur at a defined radius and setting a blend mode automatically
- Running a curves adjustment across every image in a folder without opening each one manually
- Placing a watermark layer at a specific position and opacity on a batch of images in one pass
You do not need to write scripts from scratch. GIMP ships with built-in Script-Fu examples you can read and adapt. Go to Filters, Script-Fu, Console and type (gimp-version) to confirm everything is working. From there, start small. Many designers find that five or six lines of Script-Fu replace what would have required a twenty-step Photoshop Action to accomplish.
Your Photoshop Instincts Still Work Here
The effects covered in this article, vignettes, color grades, soft-focus blur, and blend mode layering, cover a large portion of what most photo editors do from day to day. GIMP handles all of them with native tools, no paid plugins, no subscriptions, no workarounds that feel like fighting the software.
The biggest mental shift for Photoshop users is accepting that GIMP sometimes reaches the same result through a slightly different path. The Curves dialog works the same way. The layer mask logic is identical. Script-Fu is just Actions with a scripting interface instead of a GUI recorder. Give yourself a few real projects to build the muscle memory, and GIMP stops feeling like a substitute. It starts feeling like a deliberate choice.
Explore on GIMP.cc
Share this article: