
Expanding the Canvas in GIMP to Add Space Around Your Image
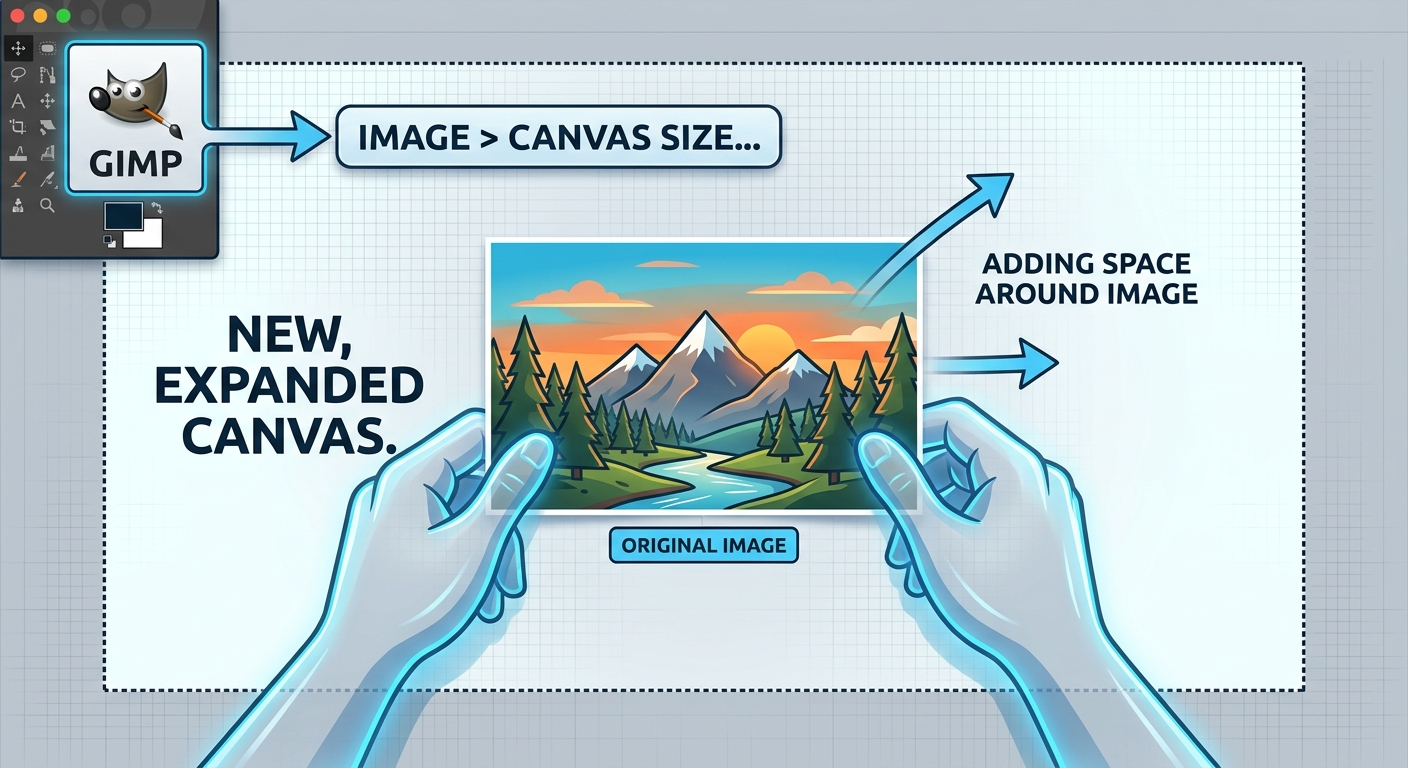
You finish editing a photo and then realize the composition needs more breathing room. Maybe the subject sits too close to the right edge, or you want to add a text strip below the image but have nowhere to put it. Expanding the canvas gives you that extra room without touching a single pixel of the original image. The process in GIMP involves a couple of steps that are not immediately obvious, especially the part where you position the existing layer after the canvas grows. Once you know the workflow, it takes less than a minute.
The Core Workflow at a Glance
- A browser-based tool can pad a simple image in seconds without installing any software on your machine.
- GIMP's Canvas Size dialog controls how much space is added per side and where the original layer sits within the new, larger canvas.
- Flatten the image first, then fill the empty area with a solid color, cloned texture, or gradient blend to make the new space look natural.
The Browser Option for Simple Padding Jobs
Not every canvas expansion needs the full power of a desktop image editor. If you have a product photo on a white background and you just need a few hundred extra pixels of padding around it, opening a heavyweight application can feel like a slow detour for a small task.
A dedicated canvas expander running directly in your browser handles the job without any software to install. You upload your image, set how much space to add on each side, pick a background color, and download the result. No installation, no layer management, no hunting through menus. It works well for plain or white-background images where the fill color does not need to blend into anything complex.
The limitation shows up the moment the background has texture, gradients, or photographic detail. Adding space to a portrait with a soft gray gradient behind the subject means the new pixels have to look like they grew from the original image. A browser tool cannot do that. It returns a flat fill that leaves a visible edge where the old and new pixels meet. That is exactly where GIMP takes over.
Why GIMP Handles the Hard Cases Better
GIMP gives you access to the Clone tool, the Gradient tool, and a precise color picker. Those are the tools you need when the expanded area has to look like it was always part of the image. Matching a studio portrait's gradient background, cloning rough brick texture into a new side panel, or smoothly transitioning a sunset sky into added canvas space all require real compositing control, not a flat color bucket.
GIMP is free, runs on Windows, macOS, and Linux, and offers the same class of pixel-level control that professional editors charge for. The flatten-and-fill workflow covered in the rest of this tutorial makes the new canvas space look intentional rather than patched on.
Opening the Canvas Size Dialog in GIMP
Start with your image open in GIMP. Go to the Image menu at the top of the window and click Canvas Size. A dialog box appears with the current dimensions of your canvas shown in the Width and Height fields at the top. Below those fields, a small preview displays your image with a yellow border representing the canvas boundary.
This preview updates in real time as you make changes, which helps you visualize the final layout before committing. The dialog might look sparse at first glance, but it contains everything you need to control exactly how the canvas grows and where your content lands inside it.
Setting the New Dimensions on Each Side
The most common mistake at this stage is changing the Width or Height value and assuming GIMP knows which side should receive the extra space. It does not make that assumption automatically. The new pixels go to whichever edge is implied by the layer offset you set in the next step, so the two fields work together.
Type your new total width or height into the appropriate fields. If your image is 1200 pixels wide and you want to add 300 pixels of space to the right side, change the Width field to 1500. If you want 150 pixels on each side (left and right), enter 1500 as well, but you will position the layer differently when you reach the offset controls.
There is a chain link icon between the Width and Height fields. When the chain is locked, changing one value scales the other proportionally. For most canvas expansion work, leave the chain unlinked. You are usually adding a specific amount to specific sides, not scaling the canvas uniformly in all directions.
Using the Offset and Anchor Grid to Position Your Layer
Below the canvas dimension fields, you will find an Offset section with X and Y values and a small 3x3 grid of squares called the anchor. This is the part of the dialog that tells GIMP where the original image content should sit inside the new, larger canvas.
The anchor grid represents nine possible positions for your existing layer. Clicking the center square keeps the original image centered within the new canvas, adding equal space on opposite sides. Clicking the top-left square pushes your original image into the top-left corner, so all the new space appears on the right and bottom. Clicking the left-center square keeps the image vertically centered and pushed to the left edge, adding space only on the right.
You can also type precise pixel values directly into the X and Y Offset fields for exact placement. If you want 200 pixels of new space on the left and 100 pixels on the top, set X to 200 and Y to 100. The preview reflects your choices immediately so you can verify the layout before proceeding.
Once the dimensions and offset look right, click the Resize button at the bottom of the dialog. GIMP updates the canvas, and you will see a transparent checkered area surrounding the original image wherever the new space was added.
Flattening the Image Before You Fill
After clicking Resize, the canvas is larger but the transparent checkered areas are not yet filled with anything. The next step is to flatten the image. Go to the Image menu and click Flatten Image. This merges all layers into one and fills any transparent areas with white, giving you a clean single-layer surface to work on.
An alternative approach, useful if you want to fill the new area before flattening, is to go to the Layer menu and click Layer to Image Size. This stretches the active layer to match the new canvas dimensions without merging anything, and the transparent zones remain editable until you decide to flatten. For beginners, the Flatten Image route is simpler. The white fill in the new area gives you a clear target to work on top of.
Filling the New Area with a Solid Color
After flattening, the new canvas space is filled with white. If you want a specific color there instead, the process is direct. Select the Bucket Fill tool from the toolbox (or press Shift+B), set your foreground color using the color picker at the bottom of the toolbox, and click anywhere in the white area. GIMP floods the connected white region with your chosen color instantly.
This approach works perfectly for images with clean, flat backgrounds such as product shots on a solid backdrop. The fill is fast and perfectly consistent across the new area. The critical detail is making sure your chosen color matches whatever is at the edge of the original image. A slight mismatch in tone creates a hard line that immediately gives away the edit.
Use the color picker tool (press O) and click directly on a pixel at the edge of the original image to sample its exact color before you fill. That small step eliminates the seam that would otherwise betray the expanded border.
Cloning Texture from the Original Image
A solid color fill fails the moment the background has any texture or variation. A brick wall, a wooden table, a cloudy sky, all of which change from pixel to pixel, require a different approach. No single color can replicate them convincingly, and any flat fill will look immediately out of place.
The Clone tool (press C) copies pixels from one part of the image and paints them into another area. To fill a new canvas zone with cloned texture, select the Clone tool, hold Ctrl, and click on a section of the original image that contains the texture you want to extend. Then paint over the white area in the new canvas space. GIMP pulls pixels from the source point you selected and stamps them into the target area as you paint.
Work in overlapping, varied strokes and shift your clone source point occasionally to avoid obvious repeating patterns. Zoom in to 100 percent while cloning so you can see exactly what you are painting at full resolution. The goal is a fill that reads as a natural continuation of the original background rather than a tiled copy. For a deeper look at Clone tool settings and blending modes, the official user manual covers every option in detail and is worth bookmarking as your GIMP skills grow.
Blending a Gradient into the New Space
Some images have backgrounds that shift gradually from one tone to another across the frame. A portrait with a dark-to-light gray gradient behind the subject is a perfect example. Adding canvas to one side means the new area must continue that gradient, or it will look abruptly cut off at the old boundary.
After flattening, select the Gradient tool (press G). Open the color picker and sample the exact color sitting at the very edge of the original image. Set that sampled color as your foreground color. Then sample the gradient's far-side tone from the opposite edge of the background and set it as your background color.
Click and drag the Gradient tool across the new white area in the same direction the original gradient was traveling. GIMP blends smoothly from your sampled edge color toward the background color, extending the gradient as if the image was always composed with extra space on that side. The seam between old and new becomes invisible when the sample points are accurate.
For more complex or organic transitions, painting with a soft-edged brush at a low opacity and repeatedly sampling colors from the nearby original pixels gives you finer control than the Gradient tool alone. Even a first attempt at this technique looks dramatically better than a flat fill on any background that has gradual tonal variation.
Space That Looks Like It Was Always There
Expanding the canvas in GIMP is one of those skills that compounds in value the more you use it. The Canvas Size dialog gives you precision that browser-based tools cannot match when backgrounds are complex. The anchor grid makes layer positioning logical once you understand that each square represents a corner or edge of the new canvas. And the flatten-and-fill approach, whether you reach for a solid color, the Clone tool, or the Gradient tool, turns a mechanical resize into a believable image.
Start with flat-background images and a simple bucket fill to get comfortable with the dialog and the offset controls. Once that feels natural, bring those same steps to images where the background needs real attention. Each time you make the new space look as if it was always part of the composition, you have used canvas expansion exactly the way it is meant to be used.
Explore on GIMP.cc
Step-by-step GIMP guides for every skill level.
Resize, compress, convert, and check images online.
Answers to the most common GIMP questions.
Share this article: