
Designing a Website Logo in GIMP and Save It as a Favicon
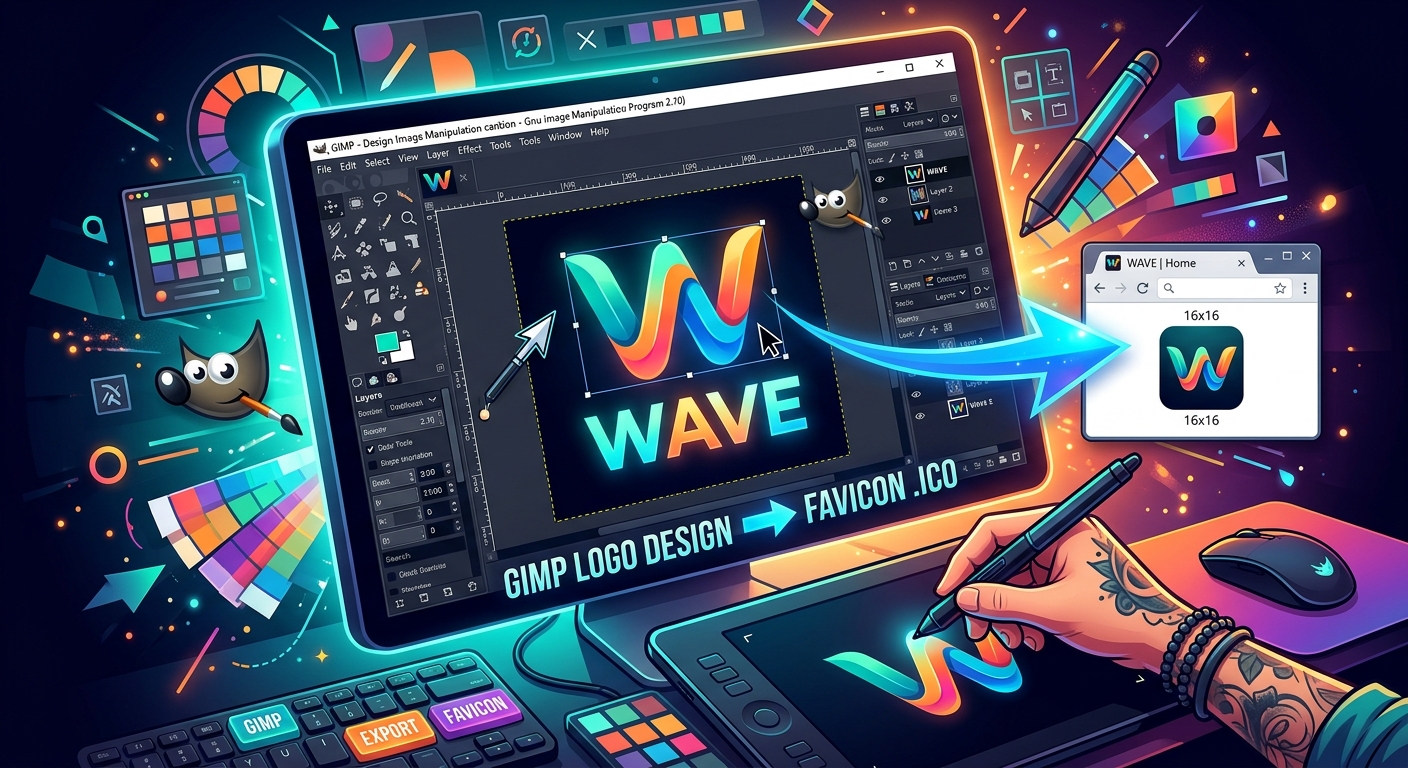
Most people figure out the logo design part. It is the favicon step that stops them cold. You build something that looks clean in GIMP, but getting it into the browser tab, sized correctly and in a format every browser accepts, turns into its own headache. This article walks through both steps from a fresh canvas to a working favicon, without glossing over the parts that tend to cause trouble.
Design Shortcut: GIMP gives you a full logo-building toolkit, and a dedicated converter takes care of the favicon step cleanly.
- Start with an 800x800 pixel transparent canvas and build your logo using GIMP's shape, paths, and text tools.
- Keep one layer per design element so you can edit anything without disrupting the rest of the composition.
- Export a transparent PNG from GIMP, then hand it off to a purpose-built online converter instead of wrestling with GIMP's ICO export dialog.
Setting Up Your Canvas in GIMP
Open GIMP and go to File > New. The first decision is canvas size. Set both width and height to 800 pixels. Logos need to scale from large header images all the way down to a 16x16 favicon, and a square canvas with plenty of pixels to start with makes that range much easier to manage. You can always scale down. You cannot recover detail from a canvas that was too small to begin with.
In the Advanced Options section of the New Image dialog, find the Background Fill setting and switch it to Transparency. This removes the default white background and replaces it with GIMP's gray checkerboard pattern, which represents transparency. A transparent base means your logo will sit cleanly on any background color when you place it on your site.
Set Resolution to 72 pixels per inch for a web-only logo. If there is any chance you will print this logo later, use 300 PPI instead. Click OK when your settings are in place.
Shaping Your Logo with GIMP's Drawing Tools
The Ellipse Select tool (shortcut: E) and Rectangle Select tool (shortcut: R) are the fastest way to build a logo shape. Draw a selection, then fill it using the Bucket Fill tool (shortcut: Shift+B). Hold Shift while dragging with the Ellipse tool to constrain it to a perfect circle.
Choose your fill color by double-clicking the foreground color swatch near the bottom of the toolbox. This opens the color picker. Type in a hex code if you already have brand colors, or pick one by clicking around the gradient field. Click OK and your color is ready for Bucket Fill.
Keep the shape simple. A circle or bold rectangle reads clearly at 32x32 pixels. An intricate illustration with fine lines does not. Favicons are tiny by nature, and a logo that over-explains itself at large sizes often becomes unreadable at small ones.
Using the Paths Tool for Custom Shapes
If your logo needs something that rectangle and ellipse selections cannot produce, the Paths tool (shortcut: B) is what you want. Click on the canvas to place anchor points, and drag between them to create curves. Once your path is closed, go to Select > From Path to convert it into a selection. Then fill it with Bucket Fill as you would any other shape.
The Paths tool is how you build arrows, custom icons, speech bubbles, or any asymmetrical mark. It takes a little practice to feel natural, but once you get the hang of placing and adjusting nodes, it opens up a lot of design possibilities without needing a separate vector application.
Getting Your Typography Right in GIMP
Click the Text tool in the toolbox (shortcut: T) and then click anywhere on the canvas. A text editor box appears. Type your brand name or initials. The tool options bar across the top of the screen controls the font, size, and color.
Font choice has a bigger impact on a logo than most people expect. Bold, geometric sans-serif typefaces reproduce well at small sizes because their strokes stay thick and their letterforms stay recognizable. Thin decorative fonts often fall apart below 24 pixels. Choose something with strong, clear forms.
After you finish typing, close the editor box. GIMP places your text as a separate layer. Switch to the Move tool (shortcut: M) and drag it into position. To center the text over your shape precisely, use the Align tool (shortcut: Q). In the tool options, set "Relative to" to Image and click the horizontal and vertical center alignment buttons. The text snaps to the middle of the canvas.
Organizing Your Design with Layers
Open the Layers panel via Windows > Dockable Dialogs > Layers. Every element of your logo should sit on its own individual layer. Put your background shape on one layer, any decorative icon or mark on another, and your text on a third. This structure means you can reposition, recolor, or delete any one piece without touching the others.
Double-click a layer name in the panel to rename it. Labels like "background circle," "icon mark," and "company name" take a few seconds to set but save real time when you come back to the file later. GIMP's default numbered names become confusing quickly once you have more than a handful of layers.
The stacking order in the Layers panel determines what appears on top of what in the canvas. Drag layers up or down in the panel to adjust the order. Text usually goes at the top of the stack so it sits above every shape beneath it.
Save your working file in GIMP's native .xcf format. This preserves every layer, every setting, and every option you have set. Export separate PNG or other files as needed, but treat the .xcf as your master source file. Never overwrite it with a flattened export.
What Browsers Expect from a Favicon File
A favicon is the small icon that appears in the browser tab alongside the page title, in bookmarks, and on mobile home screens when someone adds your site as a shortcut. Getting it to display correctly across devices means covering several specific sizes.
- 16x16 px , the standard browser tab size, the baseline every site needs
- 32x32 px , used by most desktop browsers and Windows taskbars
- 48x48 px , Windows site shortcut icons
- 180x180 px , Apple touch icon for iOS home screens
- 192x192 px , Android home screen shortcuts
A properly built ICO file embeds multiple sizes in a single package. Browsers then pull whichever resolution they need for the context. Building that multi-size ICO manually in GIMP requires navigating export dialogs that have several settings to get right, and beginner mistakes are common enough that the output may not display correctly in all browsers.
Converting Your Logo PNG into a Working Favicon
Before you convert anything, export your finished logo from GIMP as a clean PNG. Go to File > Export As, type your filename with a .png extension, click Export, leave the PNG settings at their defaults in the dialog that follows, and click Export again. Check the Layers panel beforehand to make sure no solid background layer is turned on. If you see the gray checkerboard pattern on the canvas, the transparency is intact, and that transparent PNG is exactly what you need.
GIMP does include an ICO export path. Type the .ico extension in the Export As dialog and GIMP presents a size selection interface. It works, but the combination of pixel depth settings, size embedding, and browser compatibility requirements is a common stumbling block. A mismatch in any of those areas and the favicon either fails to display or looks pixelated.
The more reliable approach is to export your transparent PNG from GIMP and run it through a logo to favicon converter. You upload the PNG, the converter processes it, and you download a favicon.ico file that is sized correctly, has the right color depth, and is ready to drop into your website's root folder. No manual configuration required on your end.
This two-step handoff plays to each tool's strengths. GIMP handles design. The converter handles format translation. Keeping those two jobs separate makes both of them straightforward.
Placing Your Favicon on a Live Website
Upload favicon.ico to your website's root directory, the same level as your homepage file. Then add a reference to it inside the <head> section of your HTML:
<link rel="icon" type="image/x-icon" href="/favicon.ico">
Most browsers will find a file named favicon.ico in the root automatically, but the explicit link tag covers more browser variations and removes any guesswork. If your site runs on a CMS like WordPress, the Customizer usually includes a direct favicon upload field, which skips the manual HTML step entirely.
For sites built from scratch and targeting a wide range of devices, consulting detailed favicon specifications helps you cover additional size declarations, Apple touch icons, and web app manifest entries that go beyond the basic ICO file.
Your Logo Is Ready for Every Corner of the Web
Designing a logo in GIMP does not need to be a weeks-long process. A transparent 800x800 canvas, a clean shape, readable typography, and a few well-labeled layers give you something solid in a single sitting. The tools are all there from the moment you open the application.
The favicon conversion step feels complicated the first time but becomes routine once you understand the workflow. Export a transparent PNG from GIMP, run it through a dedicated converter, upload the result to your root folder, and add the link tag. That is the entire process from finished design to live browser icon.
If you want to go further with GIMP after completing your logo, GIMP documentation covers every tool and dialog in detail. It is worth keeping open in a tab as you work through more advanced design tasks in the editor.
Explore on GIMP.cc
Step-by-step GIMP guides for every skill level.
Resize, compress, convert, and check images online.
Answers to the most common GIMP questions.
Share this article: